From Led Zeppelin to The Beatles, British artists have produced some of the best drum sounds ever recorded. They’ve also shown why learning proper drum recording techniques is crucial for making great music. But setting up the drum kit can be the most challenging part of recording, especially when working in a home studio. It is essential to learn the right strategy for producing high-quality audio, and it all starts with the drums.
Tuning drums for recording
Since your recording won’t sound good unless your drum kit is well-tuned, the first step is learning how to tune drums for recording. They need to be tuned and adjusted regularly, just like any other instrument. This will also save you a significant amount of time when engineering the sound after recording your music. You will want to use your drum tuning key to ensure each element sounds as clean and even as possible. Pay special attention to the snare, as it is one of the most important parts of any great drum recording. Make sure your tom-toms also sound as crisp as possible before setting up to record your music.
How to mic drums for recording
Another vital component of creating great drum recordings is setting up your mics properly. This starts with knowing how many mics to record drums. Your recording will sound strange if you have too many or too few mics or if they are positioned in the wrong places. This choice will also affect how long it takes to set up your mics and process the data from recordings later on.
Kick drum recording techniques
When recording a kick drum, it is important to have a designated mic to capture its sound. Choose a quality mic for this purpose to get the best recording possible. Your positioning will depend on the type of music you are creating and your personal preferences. If you’re wondering what is the best kick drum mic for recording, we recommend a dynamic mic. These mics are strong and stable enough to withstand the kick drum’s powerful, repetitive pressure waves.
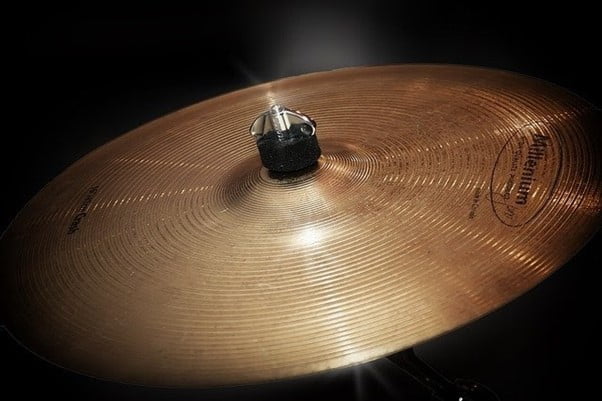
Mic your snare drum and hi-hats
Next, you’ll need to mic your snare drum and hi-hats. The most typical position for snare mics is aimed at the drum’s back lip, towards its centre. The key here is not to place the mic directly over the drum, or your drummer might hit it while playing. As the best mic for snare drum recording, we recommend a dynamic mic like the SM 57 mic. Find a mic with a solid transient response for picking up the snare’s sound and avoiding contact with hardware while recording.
Set up more mics
You can set up more mics based on your resources and the type of sound you want. There are mic options like overhead mics, or mics for your tom-toms. These choices are up to you and will depend on the sound you are trying to create. Spend some time experimenting and researching the specific techniques to achieve that sound you’re after.
Room mics
Room mics add that final polish to your music. They can often fill any holes in your recording, bringing everything together in one cohesive sound. While many musicians don’t put much thought into where the room mics are positioned, experimenting with their placement can help you achieve a more unified sound.
Microphone polarity in drum recording
A few other elements are key to recording great drum sounds, including polarity. The polarity pattern of your microphones will determine how they capture sound. Omnidirectional mics pick up sound all around them, directional mics pick up sounds in front of them, and bidirectional mics capture sound from their front and back. Usually your mics will come with a polarity chart, so this can ensure you are setting them up to achieve the optimal sound.
Phase in drum recording
Phase is another crucial factor for achieving great drum recordings. Since you’re likely using multiple mics to record the same drum sound, you need to make sure they’re all in-sync, or in-phase with each other. Otherwise, your recording could have phase cancellation, a quality that eliminates impact and makes the audio sound thin. Always check for phase cancellation before you start recording to avoid having to undo the damage afterwards.
Drum recording tips
Once your mics are all set up, you need to make sure they’re working properly to achieve your desired sound. Make sure your drums are tuned to perfection and ready to test out your mics. Listen to each mic individually for buzzing, rattles, or any other sound that is out of place. Conduct a thorough test, but avoid spending too much time on this process. You don’t want to tire your drummer before you begin recording. Panning your mics is another matter of personal preference, but there are a few adjustments you can make to experiment with your sound. For example, some engineers choose to pan overhead mics to the far left and wide, but you can try narrowing that setting to achieve a more realistic sound. Check your setup and sound regularly, as things tend to move around on a drum set. You will want to monitor your mic set up during recording, as your results will vary wildly if mics or their stands are hit or moved during recording.
It’s time to play
As you may have realised, setting up drums and mics for recording is an art form. You will need to spend some time experimenting, as different approaches work better based on what tools you have and the type of sound you want. Follow our tips for recording drums, and check out other advice on our blog. Before long, you’ll be on your way towards producing your own legendary sound, following in the footsteps of the likes of John Bonham and Ringo Starr.
Get in contact with us to see how our award-winning producers can assist with professional drum recording in our studios. Watch our video below where we discuss more about drum recording.
We use cookies to ensure that we give you the best experience on our website. If you continue to use this site we will assume that you agree to our Cookie Policy